
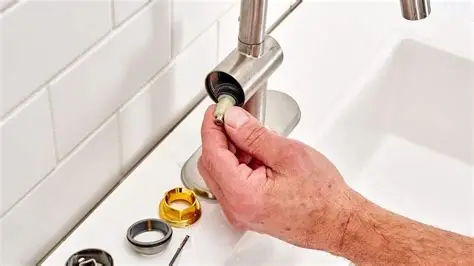
A leaking kitchen tap can often be caused by a small worn component rather than a major plumbing problem. With the right replacement part and a few basic tools, some tap leaks can be repaired without immediately calling a plumber.
Check the Washer or O-Ring
A significant proportion of kitchen tap leaks come from a worn rubber washer housed in the valve. A DIY fix can cost significantly less than a plumber’s rates, particularly when the problem is limited to a small replacement component.
First, turn off the cold and hot water feeds under the kitchen sink. Briefly open the tap to relieve pressure in the line before beginning the repair.
Remove the decorative cap with a screwdriver, followed by the handle, and then use an adjustable wrench to remove the valve or cartridge, depending on the type of tap.
The washer or O-ring at the base of the valve is likely to be cracked, flattened, or stained. Take the old component with you when purchasing a replacement so you can get the correct size and type from the hardware shop.
Reassemble the Tap and Check for Leaks
After refitting the washer, reassemble the tap in the reverse order. Turn the water supply back on slowly while checking for leaks.
Check first around the base of the tap and then around the spout. If there is still a leak, it may be necessary to replace the washer with another correctly sized part or inspect the cartridge.
In some cases, the valve seat may also be damaged. A valve seat grinder or replacement cartridge may be required, although this should only be attempted as a DIY project if you have the appropriate tools and are comfortable working on the tap.
If the leak continues after replacing the washer and cartridge, or if the plumbing itself appears damaged, getting professional help may prevent a small repair from turning into a larger water-damage problem.